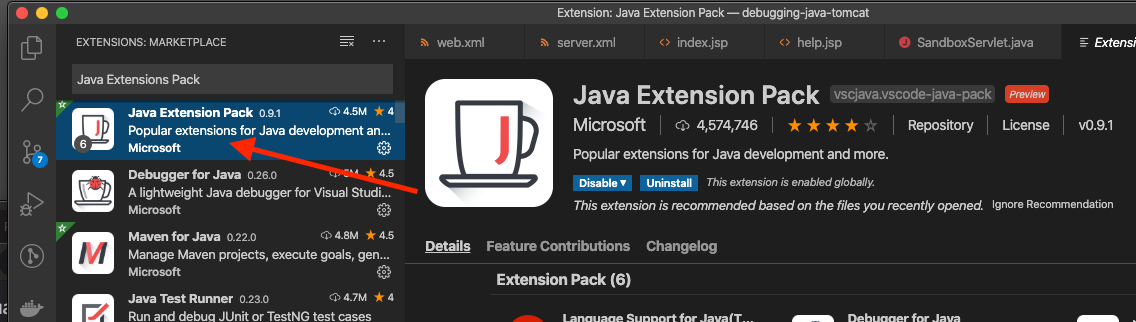
Download Eclipse IDE
When working with the Eclipse Web Standard Tools (WST), I recommend
downloading the latest Enterprise version.
Note: If you're an expert, you can install the plugins separately. If you have
an existing Eclipse and projects config, I find it's much easier to download a
new version of Eclipse. And open back up the previous workspace.
The Eclipse installer, choose the 'Eclipse IDE for Enterprise Java
Developers'.

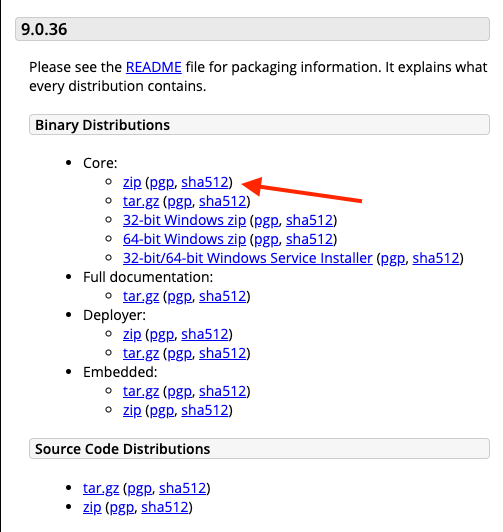
Download Apache Tomcat
Download the latest
Apache Tomcat, which means you download the web server code that can runs the Apache
Tomcat web server.
- Download the latest Apache Tomcat. Go to the downloads, then choose the core zip.
- Unzip the core zip into a memorable directory. For example ~/servers/tomcat/apache-tomcat-x.x.xx.

Install the Tomcat Server
The goal is to add the Server in the Eclipse Servers list. And then it can be
used to add a project to it.
1. Open Eclipse
2. Go to the Debug Perspective. Window Menu > Open Perspective > Debug
3. Click on the 'Servers' view or looks like a tab.
4. Click on the 'No servers are available...', this will open the 'Define a
New Server' dialog.
5. Filter the server type, 'tomcat'.
6. Select the Tomcat server version you downloaded earlier. I selected Tomcat
v9.0 Server.
7. Clicking next will bring you to the Tomcat Installation directory choice.
Choose the install directory. This directory points to the unzipped files that
were downloaded earlier. For example select
~/servers/tomcat/apache-tomcat-x.x.xx. Select next.
8. Add and Remove, this will allow you to add your WST web app. This can be
done later too.
9. Click finish, and you have a new Tomcat Server to use with web app
debugging.
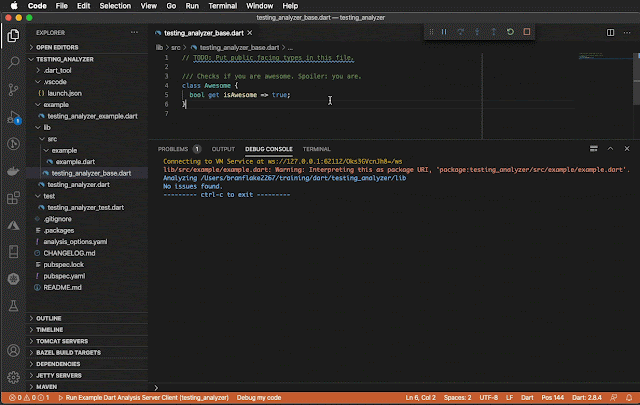
Debugging
Once the server has been added, you can add your project with a web app folder
to the server. The applications web app can be added during server
install or after.
1. After the server is added, right click on server and click Add and
Remove...
2. Select your project and add it to the server.
Example of Installing the server and adding your project to it. Then running the server in debug mode.